
Auditioning
Now that you have some initial settings in place and have perhaps grouped your sounds logically using Loudness Definitions you can start to audition your game, observing and adjusting the HDR settings as required.
Note: HDR calculations happen after attenuation, which creates some interesting behaviors. Very loud sounds can override normal attenuation behavior - when a sound's loudness exceeds resting level, it won't attenuate normally until it falls below resting. Using steeper attenuation curves for loud sounds helps maintain control over this interaction.
HDR Envelope window
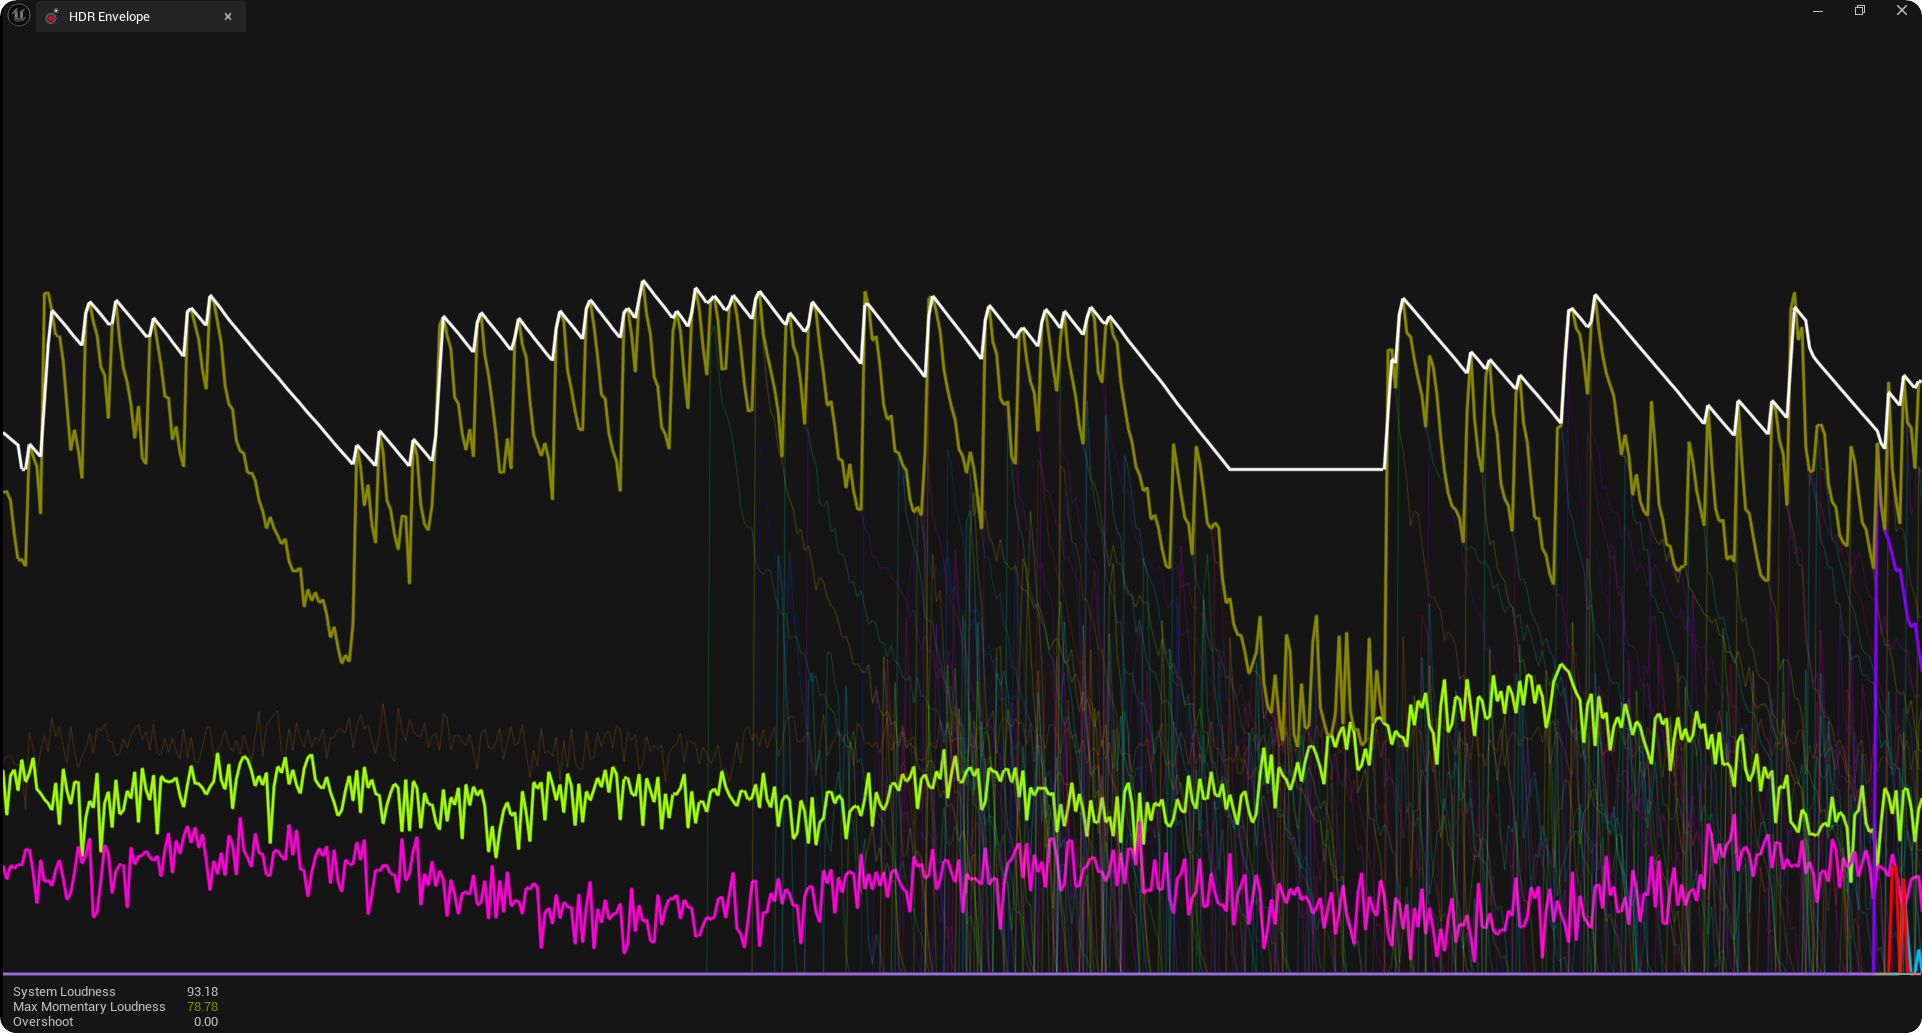
The 'HDR Envelope' window (Window / HDR / SweejTech HDR Envelope) displays a visual of the current HDR mix for at-a-glance understanding of the state of the system. The System Loudness is displayed as a white line, and the Max Momentary Loudness is displayed as a yellow line. The Momentary Loudness of all playing HDR sounds are also displayed as separate-coloured lines for each sound. (This Momentary Loudness of each sound is the product of their defined loudness, loudness modifiers, attenuation and the metered level of the sounds as they input to the HDR system, it does not represent the amplitude of the sounds after HDR processing).
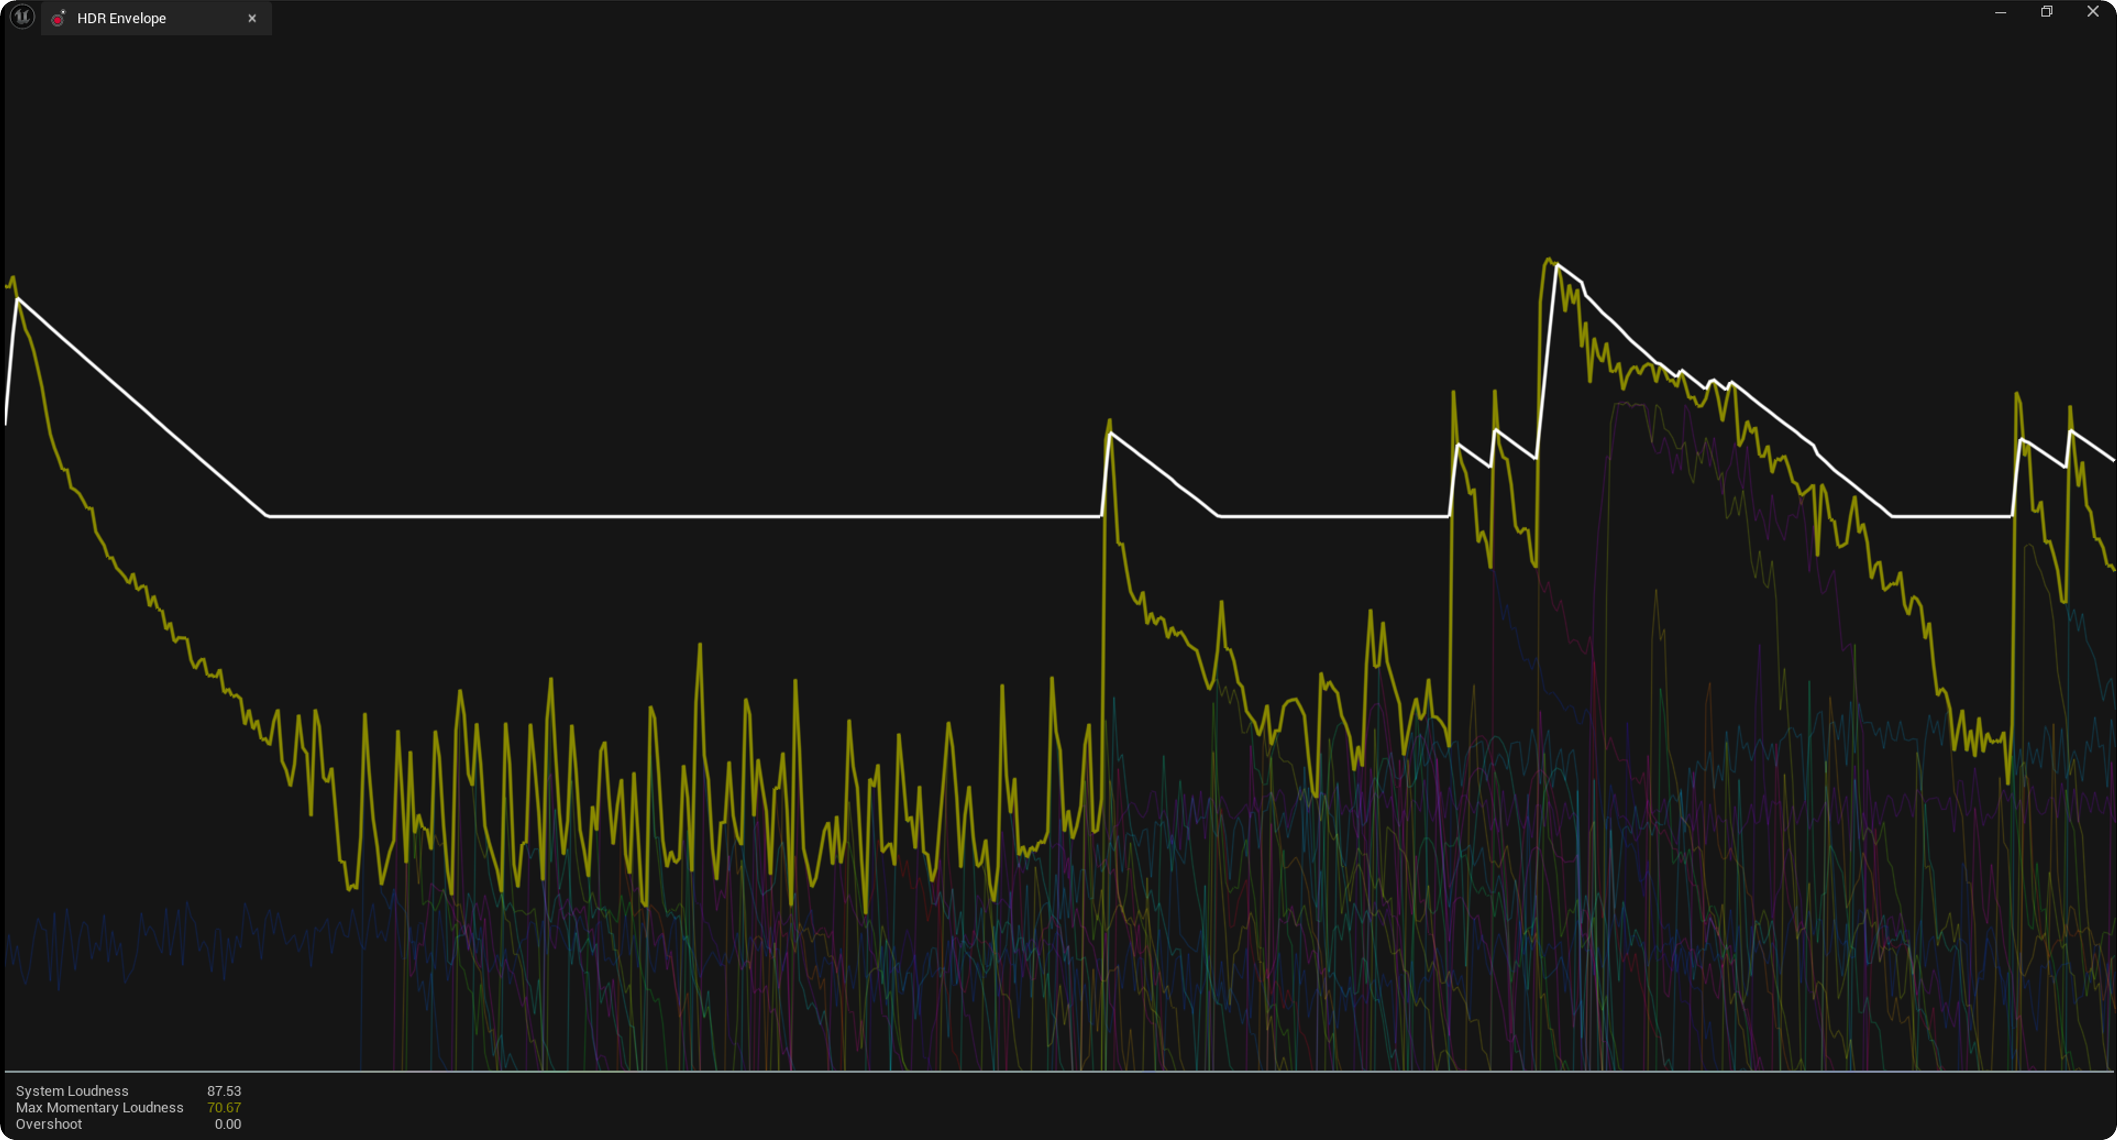
You will note in the HDR Envelope window that the System Loudness (white line) does not always exactly follow the Max Momentary Loudness (yellow line) as one might expect. This is due to the Attack Speed and Release Speed settings. Due to the Attack Speed settings the sounds Momentary Loudness may also temporarily exceed the System Loudness up to the maximum gain defined in the Max Overshoot setting.
HDR Activity window
The 'HDR Activity' window (Window / HDR / SweejTech HDR Activity) shows a table view of all active HDR Sounds, with their value calculations at each stage of the HDR mix. This allows sound designers to debug mix problems and have greater clarity about what the HDR system is doing, and why. The colors in the 'HDR Activity' window relate to those shown in the 'HDR Envelope' window. Refer to the Concepts section above and the tooltips for a description of the terms used for the other columns.
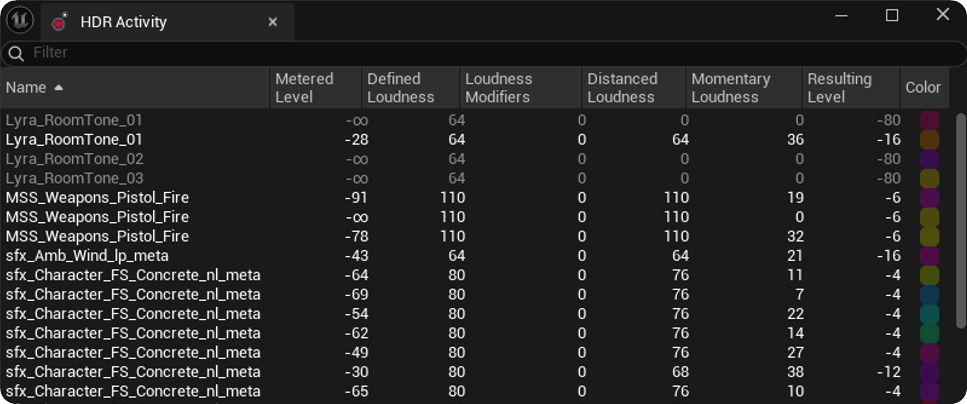
A text filter can be used to filter items by name in the HDR Activity list. This filter also affects what is shown in the HDR Envelope Window. Selecting sounds in the 'HDR Activity' window, including using CTRL or SHIFT to select multiple sounds, will highlight these in the 'HDR Envelope' window display.
HDR Mixer
The 'HDR Mixer' window ((Window / HDR / SweejTech HDR Mixer) provides a mixing desk interface for editing the Loudness, Post Gain and HDR Mode for Loudness Definitions and individual sounds. Tracks are organized according to the HDR Hierarchy, with Loudness Definitions and sounds nested underneath their parent. If a sound has HDR enabled but is not nested within a Loudness Definition, it will appear under "other". Tracks for the sounds within a Loudness Definition are revealed using the drop-down arrow.
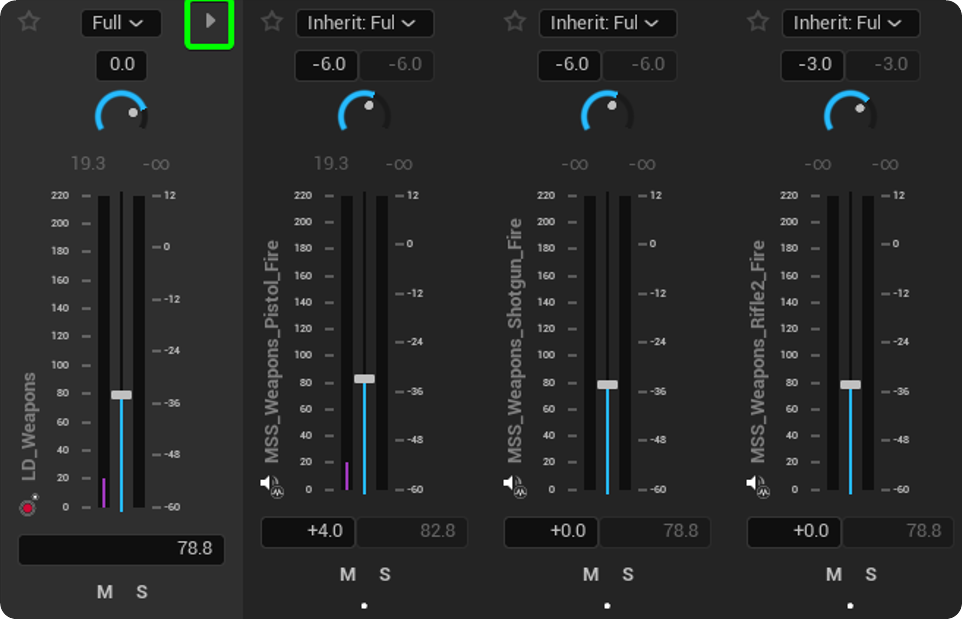
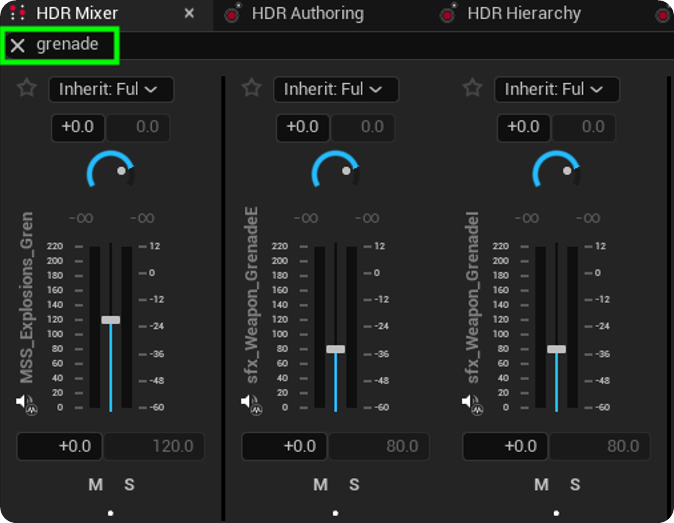
You can use the search bar to filter the tracks that are displayed.
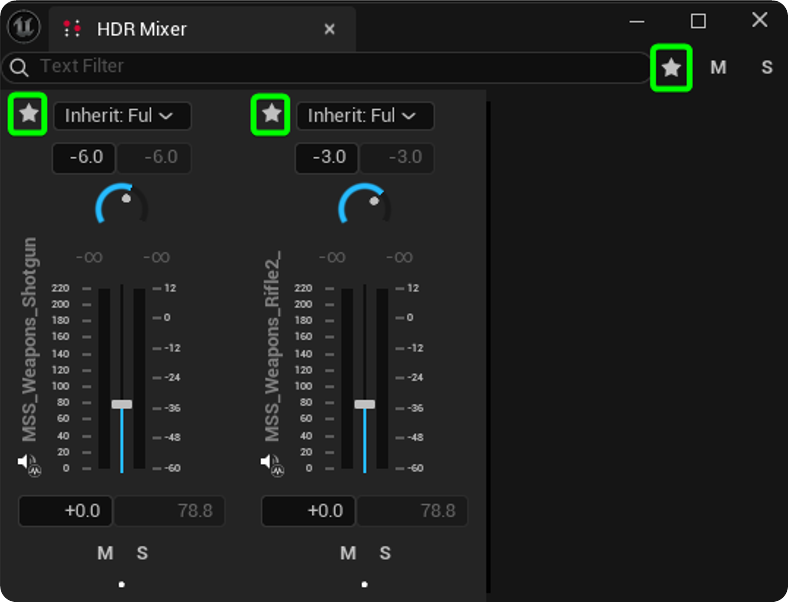
Clicking the star icon at the top right part of the widget allows you to only show your favourite tracks. To add a track to your favourites, press the star icon at the top left of the track.
Each track comes with a Momentary Loudness meter on the left, where levels above the Resting Loudness are shown in white. On the right of each track, a peak meter measures the signal after adjustments by the HDR System and Post Gain.
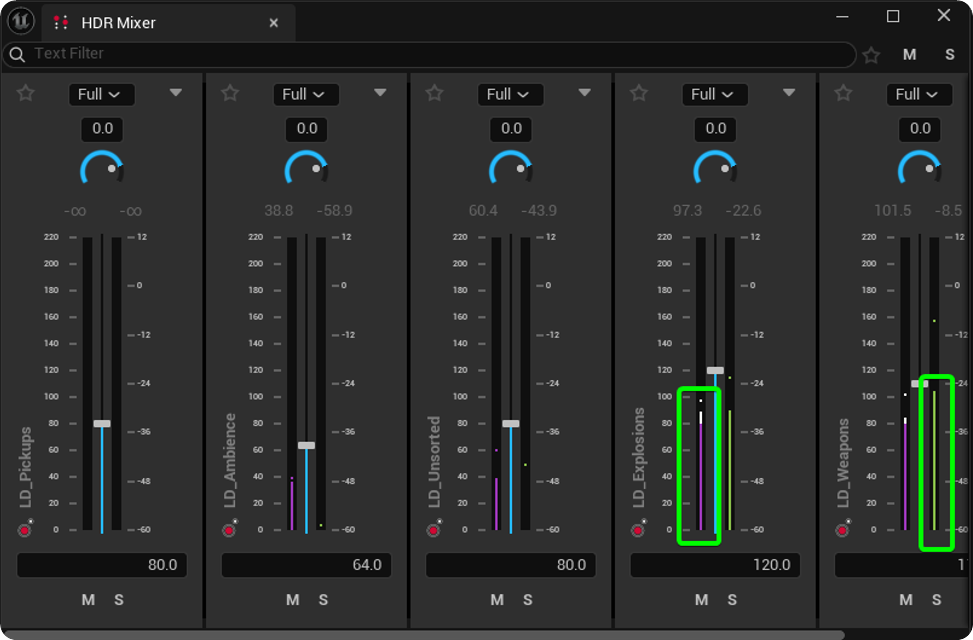
Purple: Momentary Loudness
White: Levels above system loudness (Overshoot)
Green: Signal level after adjustments
The central Defined Loudness fader sets the Defined Loudness for either the Loudness definition (absolute setting) or the sounds within a Loudness Definition (Relative Offset setting).
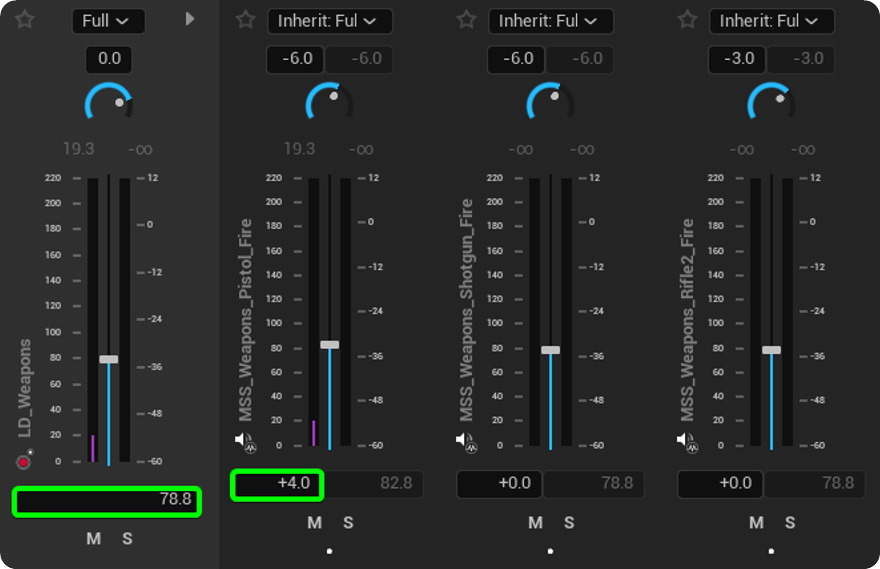
Mute / Solo sounds & Loudness Definitions
When auditioning or mixing in HDR, it can be useful to hear single sounds or parts of a loudness hierarchy in isolation to assess the impact they are having on the mix, or how they are affected by the mix. A separate mute/solo system for HDR sounds is provided in the HDR Mixer since the inbuilt engine mute/solo system operates early in the signal chain and affects the HDR mix. These mute/solo options only affect what you hear so that you can hear the outcomes of the HDR process. (There is a console command for clearing all mutes and solos which can some in useful if you lose track: SweejTech.HDR.ClearMutesAndSolos)
HDR Authoring & Hierarchy windows for auditioning
In addition to the HDR Envelope, HDR Activity and HDR Mixer windows, the HDR Authoring and HDR Hierarchy windows are also useful when auditioning your HDR mix. As noted above you can use a combined view of both of these windows by enabling the 'Show Hierarchy View in Authoring Window' in Editor Preferences / SweejTech / HDR User Settings.
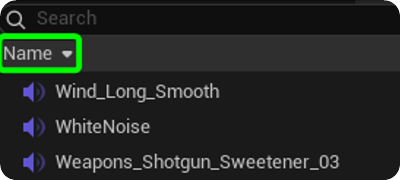
Whilst they share the useful Muting and Soloing options of the HDR Mixer the addition of filtering via the search bar and ordering by name can speed up the process of isolating and auditioning specific sounds or Loudness Definitions.
HDR Controls window
If you are finding that you want to make changes to the general response of the HDR system or enable some additional debug options then you can do this through the 'HDR Controls' window: Window / HDR / SweejTech HDR Controls.
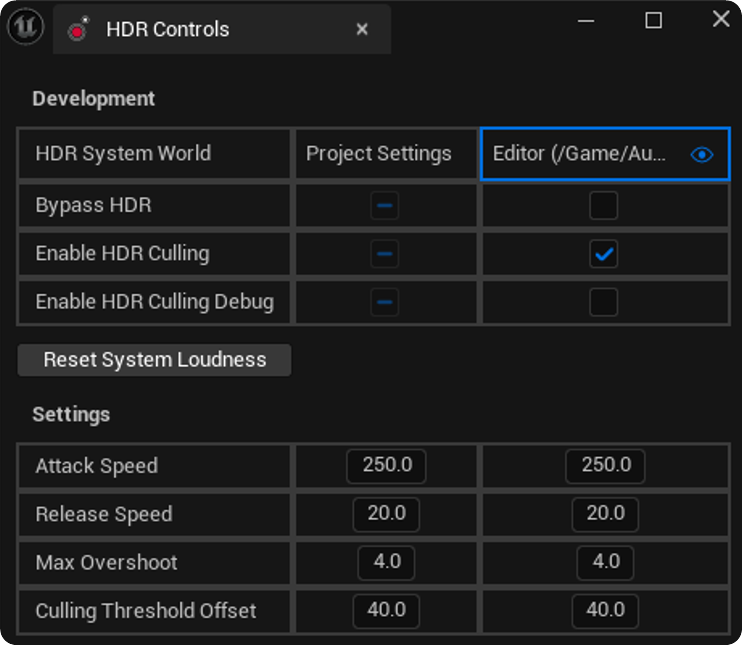
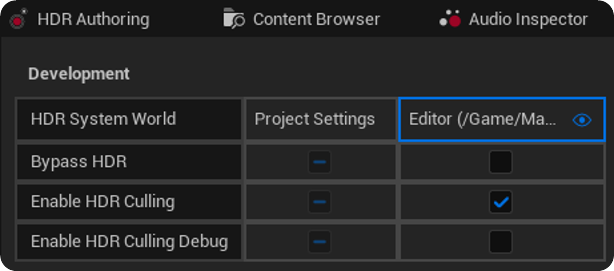
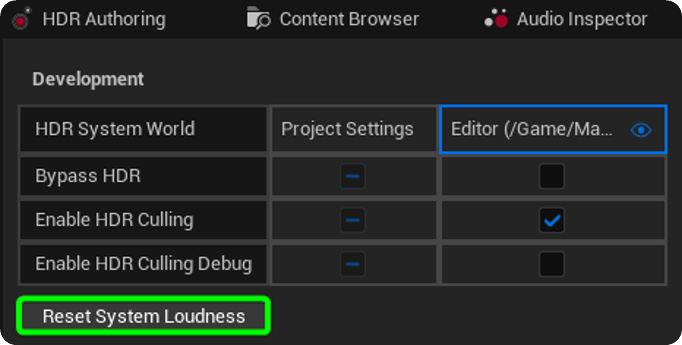
The HDR Controls window allows sound designers to control the system's ballistics settings, auditioning them and optionally saving the values in project settings, and bypassing or disabling various features of the HDR System. For each audio device you can choose to Bypass HDR, Enable/Disable HDR Culling, and Enable/Disable HDR Culling Debug.
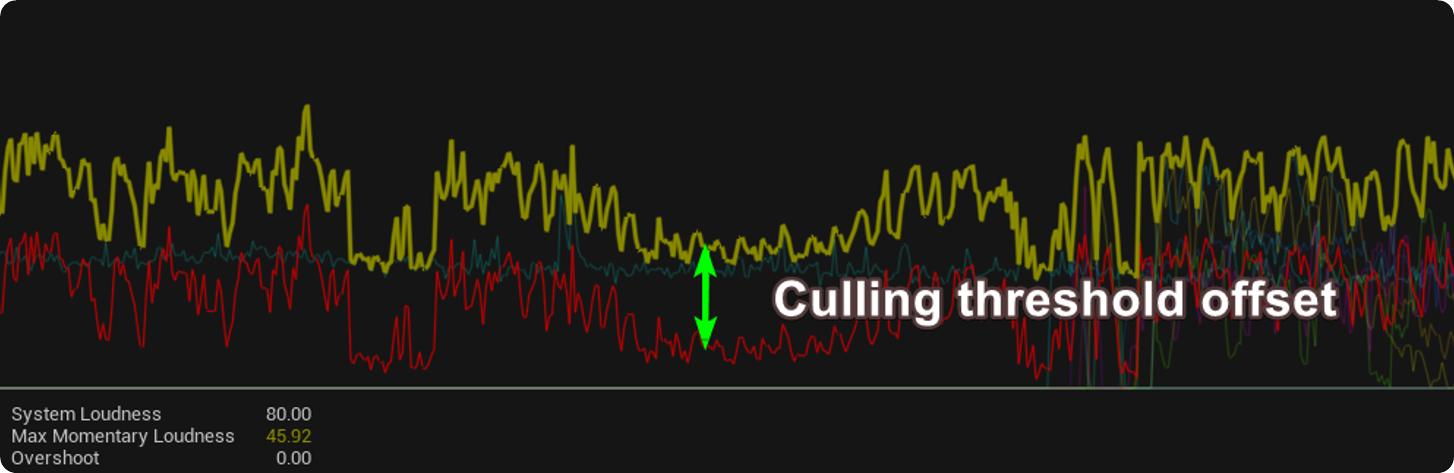
The HDR Culling Debug option will add a red line to the 'HDR Envelope' window that illustrates the Culling Threshold offset. This is particularly useful for monitoring and adjusting the offset as you are able to clearly see which sounds will be culled at a particular Offset value.
There is also the option to Reset System Loudness, this resets the current loudness of the system to the Resting Loudness value as set in the Project Settings.
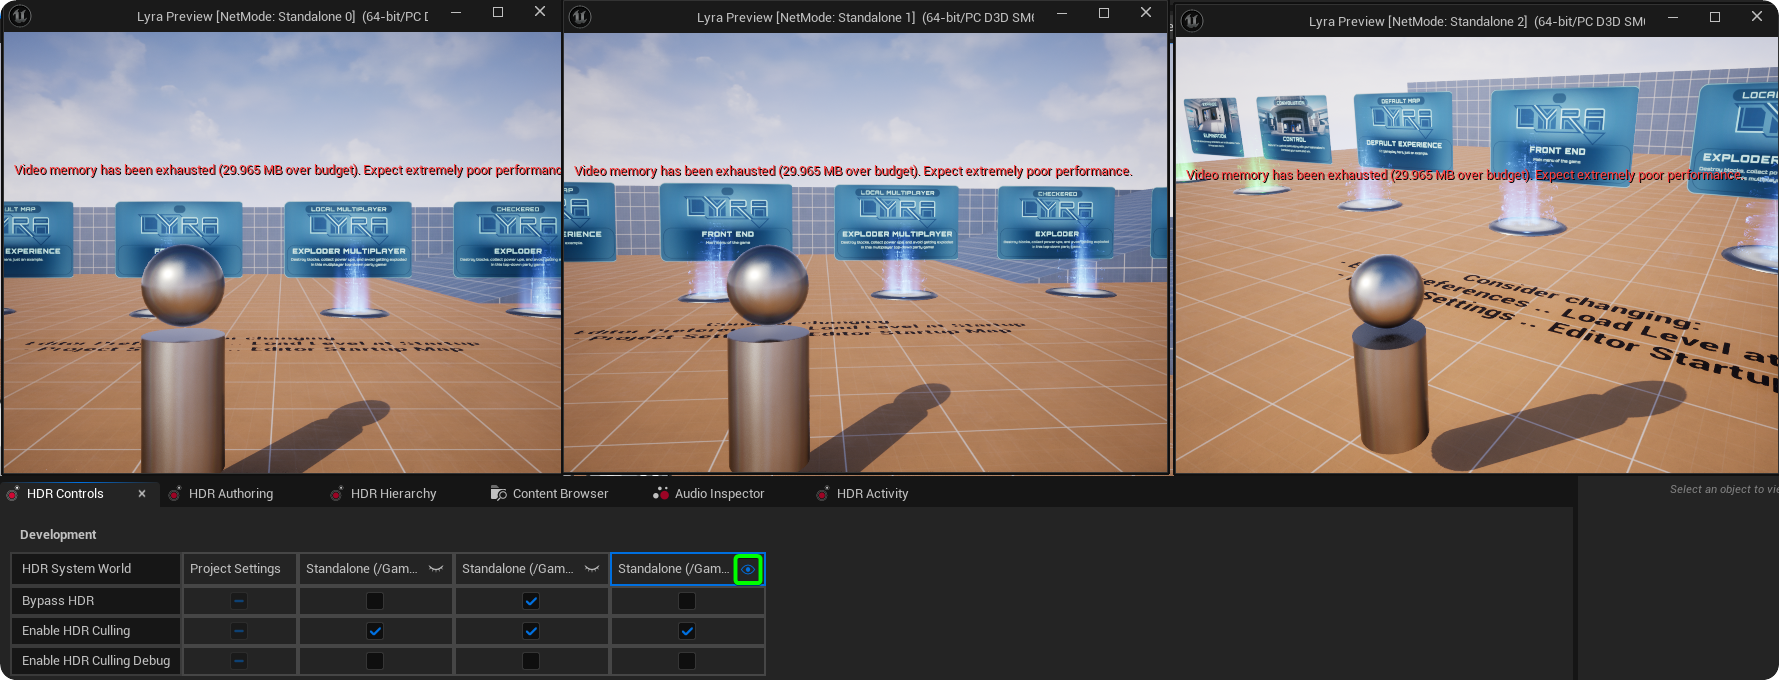
Using the eye icon you can select which Audio Device the HDR windows are showing. This is particularly useful if you are debugging multiple game instances on one machine.
Settings
These settings are discussed within the Concepts section so we will just briefly summarize them here.
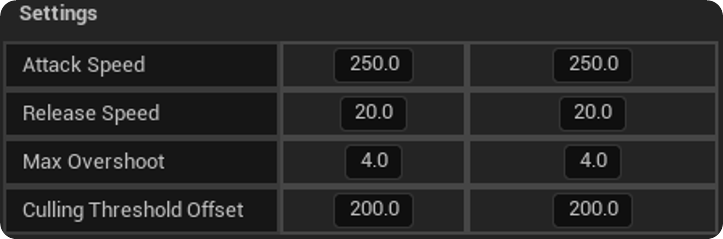
Attack speed: How many dB it can climb per second (higher numbers are faster!)
Release speed: How many dB it can fall per second (higher numbers are faster!)
Max Overshoot: The maximum amount of gain that can be applied when sound is louder than the System Loudness
Culling Threshold Offset: The offset from the Max Momentary Loudness where culling will occur
The Release Speed typically works well between 20-60 dB/second. Think of it as a balance: faster release creates snappier response but risks more pumping, while slower release sounds smoother but can hold the mix down longer. The key is matching your sound tail lengths to your release speed for natural results.